I started off with building up the motherboard. I placed the motherboard on top of wooden table to minimize the risk of static damaging the motherboard or any other components.
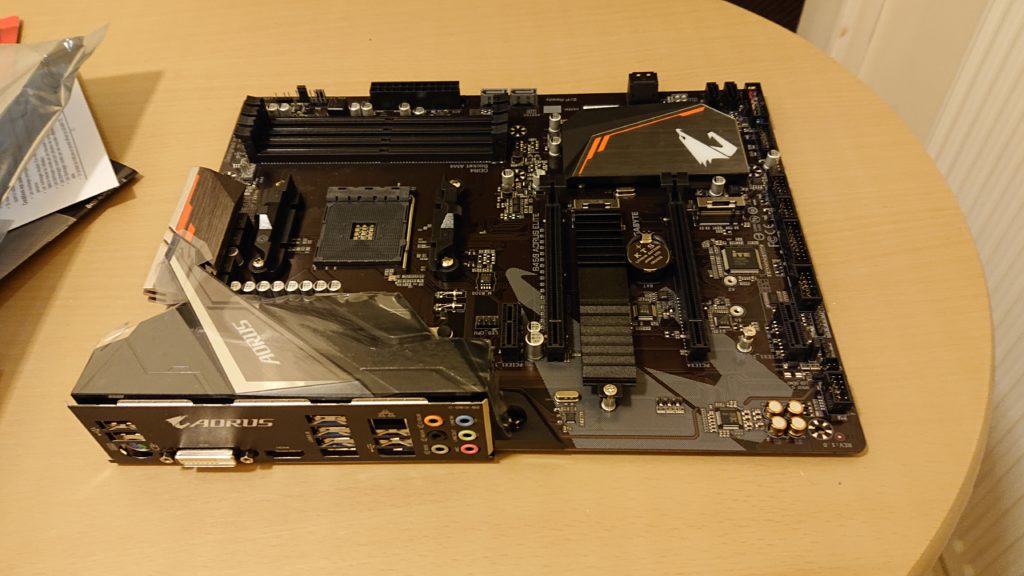
The first component added was the memory sticks or RAM sticks. I’m using four sticks here, so every slot is populated. However, if I was only using two sticks of memory, I would need to be sure they are in the correct paired slots for dual-channel operation.
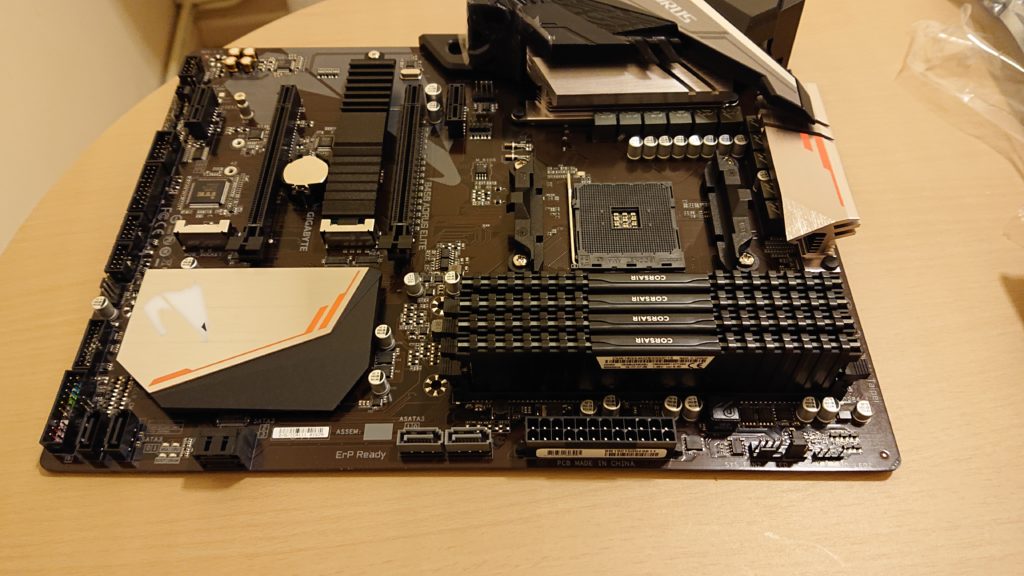
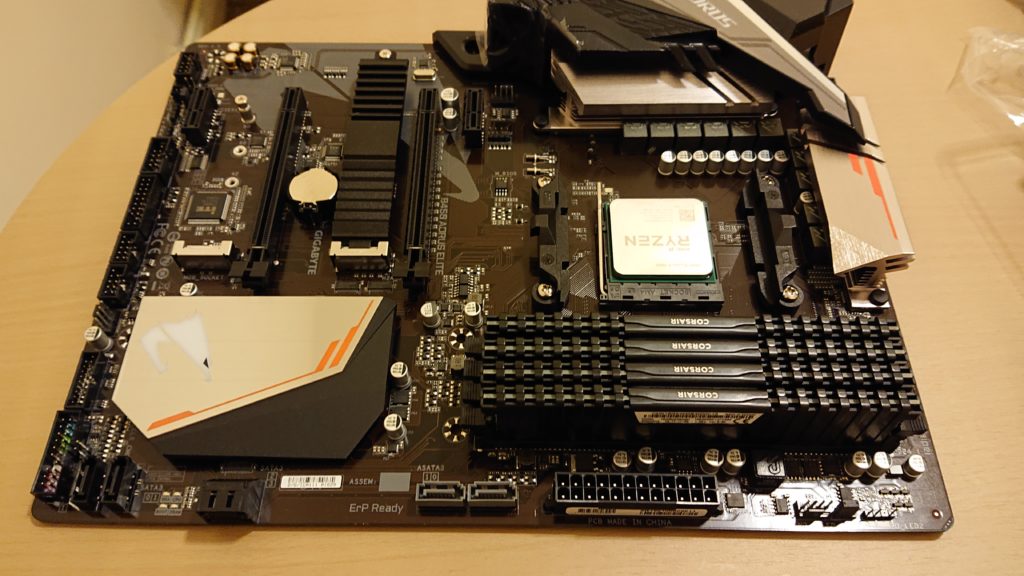
Installing the CPU, or processor was a bit of nerve wracking process due to the fact that the pins must be lined up precisely with the socket holes on the motherboard and using too much force could result in bent pins and a CPU that won’t fit properly and/or won’t function properly.
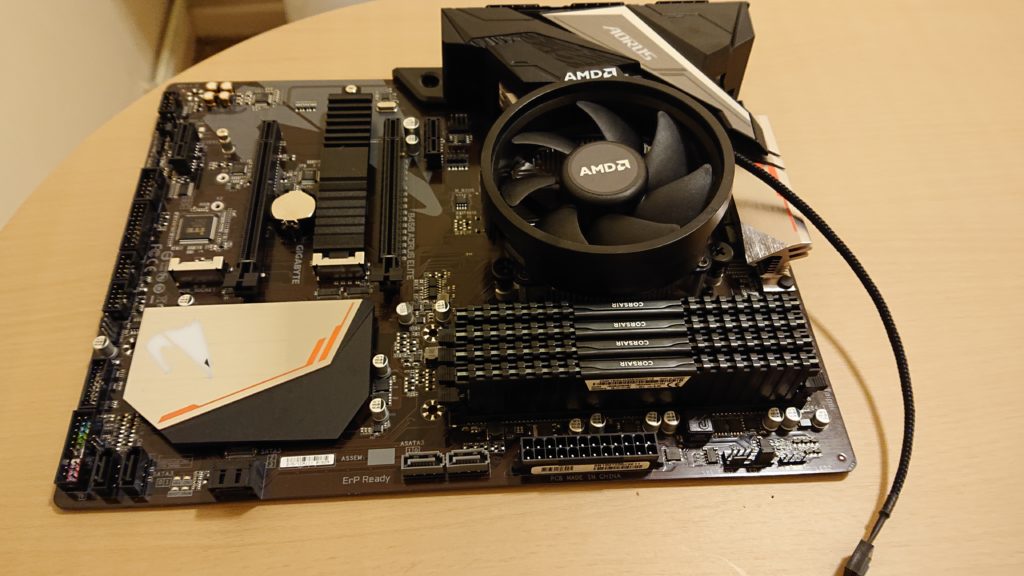
Installing the CPU cooler was similarly nerve wracking due to the need to apply a lot of extra pressure onto the cooler whilst screwing it into place and getting the feeling that I might accidentally damage the motherboard somewhere with my excessive pressure.
It’s important to install the CPU cooler correctly, including applying the pressure whilst screwing it into place to ensure that it fits precisely onto the CPU otherwise you risk frying your CPU.
I did plan on placing a bit of heatsink paste onto the surface of the CPU before installing. This wasn’t necessary though, as there was some already included with the cooler. Next, it was time to place the motherboard into the case.